Friday 30 September 2016

Steampunk Papillon by Jenny Marples

Hi everyone and welcome! Jenny here in my capacity as Resident Guest Designer to share a new steampunk fantasy themed canvas I've created using IndigoBlu's 'Steampunkesque' range.


Those of you came to the recent Ally Pally show and took part in the  IndigoBlu Make n Take workshops will recognise the wings and now have experience of how to make them! Find out how the rest of it came together in more detail and see some close up photos over on my blog. Hope to see you there!

Loving the whole Steampunk/Rust/Industrial look? There are some fantastic new videos now available on the IndigoBlu YouTube channel to inspire you even more...

Learn how to create a wonderful Rust Effect with Maxine Jones;


And now for a fabulous Steampunk Skull Shadowbox from Mike Deakin;


There are lots of informative, entertaining and inspiring videos on the IndigoBlu YouTube channel so make sure you subscribe to see the latest ones.

Well, with the weekend fast approaching I hope you have a great one!
And don't forget to pop over to my blog for more on that Steampunk Papillon canvas.

Take care of yourselves, Jenny xxx

Tuesday 27 September 2016

Colourful Festive cards with Giovanna

Hello everyone, Giovanna here, with a bunch of supercolourful cards. I confess, cardmaking is not my cup of tea, but when I start, nobody can stop me! I have a new fave set of stamp, the "Peace on Earth": is a festive one, but for me it can be used all year round, and in this post I hope to inspire you to use it in different ways:

Magical Unicorn Sparkles! I would eat them :-)
And the world...spins!
A bit of classical style:

And can you believe..you get an ice cream (a bit crazy) out of an English pudding ;-)

I hope you enjoyed this post and its thousands of colours!

Products used:
Unicorn Sparkles - Magical glitter (60ml)Peace on Earth A5 Red Rubber Stamp - by Kay Halliwell-SuttonSparkle and Glisten A6 Red Rubber Stamp by Kay Halliwell-SuttonGeeSso Good! Gesso - White 120ml

Monday 26 September 2016

Santa Ornament


It is Cec here and today I am bring you a little more Christmas in the form of an ornament.


This ornament starts with an old DVD.  I got my husband to drill a single hole at the top to accommodate a hanger and three holes at the bottom just in case.  Next I cut some scalloped circles on my Cameo to cover it.  I was decorating both sides of the DVD so I cut two circles larger than the DVD and two the same size.


The next step was to paint the circles.  I had one plan in mind and painted randomly on one side of each circle with Ruby Slippers, Goldfinger and Emerald City Metallic Paint and then I wiped it back a bit with a baby wipe.  It didn't turn out the way I wanted it to - you can see the result when you look at the centre of the larger circle.  Instead of sending it to the circular file marked "G", I decided to cover it with slightly watered down Ruby Slippers.  I liked the look then.   Since the smaller circle was going to be mounted on top of the larger circle, I didn't waste any more paint by going all the way to the centre of the larger circle.


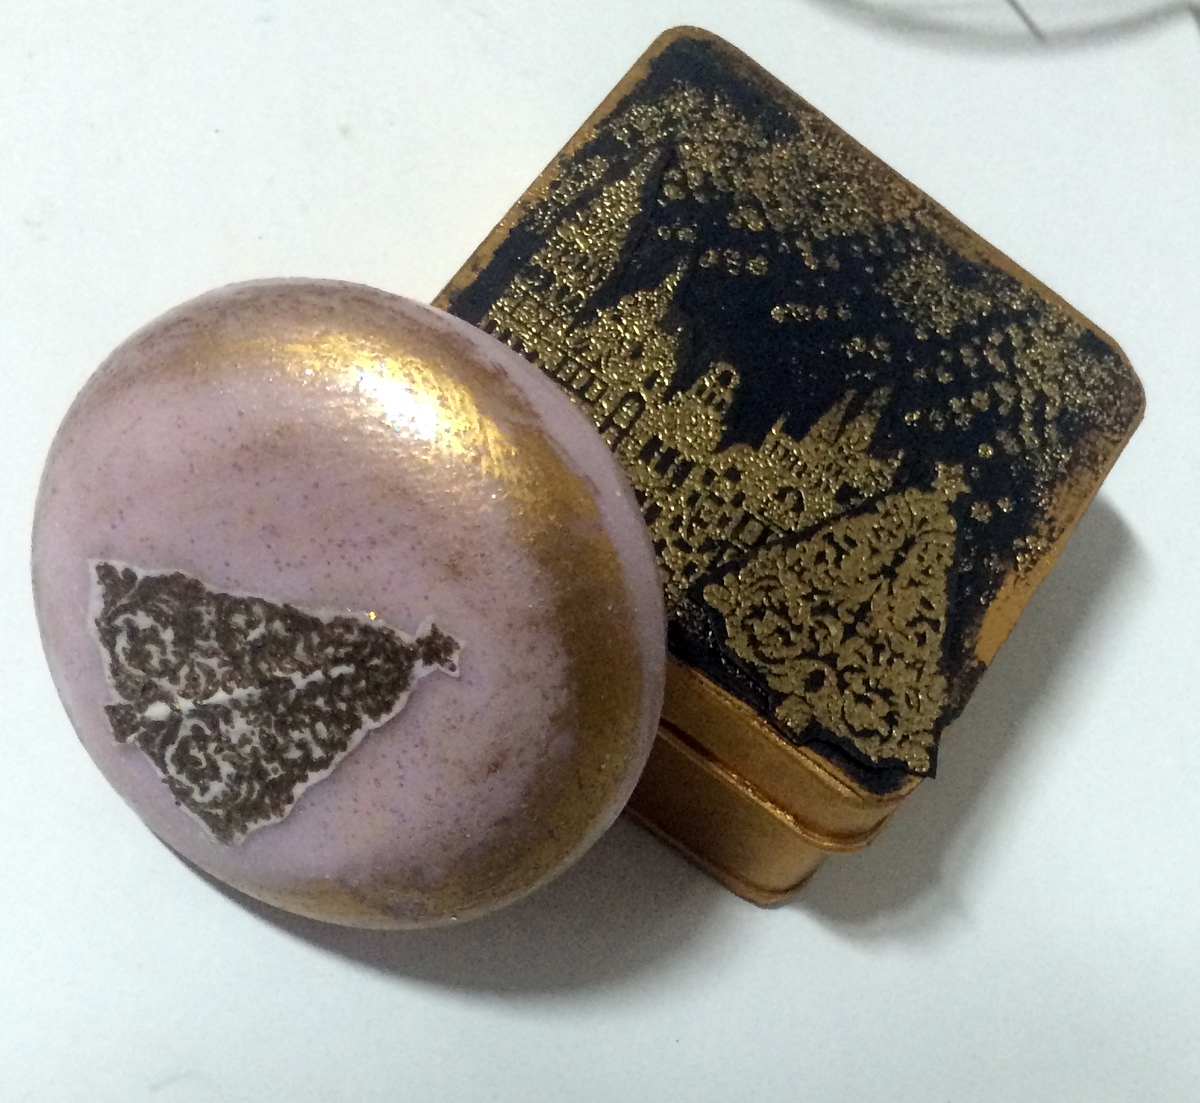
The next step was to stamp the smaller circles with the IndigoBlu Script Background stamp and Jet Black Archival Ink.  This is rapidly becoming a favourite stamp.


I crumpled up some white tissue paper into a tight ball and then opened it back out again and glued it to the smaller circles using some Matte Slap it On.  Once it was dry, I trimmed away the excess tissue.  If you don't wait until it is dry, the tissue will disintegrate in your hand.  If you use a plain scallop rather than a double scallop like I did, it will be even easier to trim.

I forgot to take a photo of this next step but I covered the tissue with some watered down Goldfinger Metallic Paint and then inked the edges with some Red Geranium Archival Ink.  I also mixed some Silver Luscious with water and pounced it on randomly using a stencil brush.


I covered the DVD next by adhering the DVD to the back of one large circle using Super Thick Slap it On.   This is a fairly fast grab so you have to work a bit quickly but of all the fabulous things it does, it is a terrific adhesive.  Once dry, I made a hole through the circle where the single hole was drilled in the DVD.  I decided not to use the bottom holes this time.


I glued the second circle on the other side of the DVD and held it in place with paper clips until dry.  Then I made the hole at the top on this side and touched up the edges of the hole on each side with a bit of paint.  It is much easier to locate your hole by doing it one step at a time as I have than trying to find where it goes if you have everything covered.

While I could still see my hole, I added some narrow red satin ribbon to make a hanger.


I stamped two copies of the Santa head from the Retro Christmas set using Jet Black Archival Ink and fussy cut them.


I coloured my Santas using Prismacolors for the face, hat and beard.  I added a little bit of Silver Luscious to the beard and used a Snow Marker from Uchida to make the fur on the hat.  This goes on like a white marker and then you use your heat gun to puff it up.

For final assembly, I added fun foam with double sided adhesive to the smaller circle and popped it up on top of the larger circle on each side.  Then I repeated this process with the Santas and added them on top of the smaller circle.  Finally I added some red gems for a bit of bling.

I hope you are inspired to dig out an old DVD or CD and transform it into a new ornament for your tree with one of the many fabulous Christmas stamps from IndigoBlu - new or old.

Sunday 25 September 2016

Christmas Word Block | Almost Clean and Simple Card

Hello Everyone and Welcome!

Today Ksenija is here, and I am happy to share with you a new project featuring Christmas Word Block stamp from the latest IndigoBlu release. This stamp continues a line of Word Block stamps released earlier this year.
I started with die cutting a 2 1/2" square out of rustic white card stock and stamping down Christmas Word Block in kraft colour dye ink. Then I heat embossed the postage stamp image from Vintage Frame stamps set and stamped the Christmas tree in dark red inks. I really enjoy that small images from this set fit into the circle perfectly.

I distressed the edges with my scissors and dried dye ink with a heat gun before distressing the square die edges with inks. I love splatters and this time also added some with diluted white gesso.
For the card panel I used a kraft card stock mat cut to 4 1/8 x 5 3/8". I applied white embossing paste through Stars stencil and let it air dry.
When the paste dried, I assembled the card by mounting the kraft panel to a dark red card base. To lift up the focal element I used foam tape.
Thanks so much for stopping by! I hope, you enjoy this card. I wish you to tune into Christmas mood gradually and have fun with the latest IndigoBlu Christmas goodies.

IndigoBlu Supplies Used:
Christmas Word Block Stamp
Vintage Frame Stamp Set
GeeSso Good!
Stars Stencil


Friday 23 September 2016

Kay is back on Hochanda this weekend. Viewing Information!

Hello Everyone,

Just to let you know that Kay is back on Hochanda this weekend with a brand new One Day Special (ODS) and just in case you have forgotten or you were not aware, Hochanda is no longer airing on Freeview Channel 39. Don't worry though; come 1st October it will be reappearing at it's new home on Channel 85. In the meantime you can catch everything online at it's website HERE, on Sky 663 and FreeSat 817.

We don't want you to miss out on the shows or be disappointed if you can't tune in on Saturday at 8pm and throughout the day on Sunday


So to watch the IndigoBlu shows this weekend, you can view them on Hochanda's website, Sky 663 and FreeSat 817.

(And don't forget you can always watch the shows on catch-up online for two weeks).

Here are a few sneak peeks of what's coming up in Kay's shows.


Happy Crafting! xx

Christmas Tag

Hello, Solange Marques here and yoday I'll share with you more a Christmas project using the fabulous IndigoBlu products!
I've made a Christmas tag:

First, I applied FlitterGlu on IndigoBlu Madonna and Child rubber stamp and I added Megaflake Chariot of Fire:


On the chipboards I applied FlitterGlu , Megaflake Chariot of Fire and a little of GeeSso Good! Gesso-Black on the edges:


On the tag I've used IndigoBlu Script Background Rubber Stamp with clear embossing powder. I also applied GeeSso Good! Gesso-white and gold ,metallic paste:


Here more close ups:


I hope you enjoy it!


Wednesday 21 September 2016

September Challenge - Autumn Wildlife

Good morning all,

Today we have a new challenge for you, it's our September challenge and it's 'Autumn Wildlife'.  Any IndigoBlu animal, bird, butterfly stamp etc will do, we'd just like to see your take on this theme.  If you don't have any of those stamps, you can always stamp your Indigoblu pattern's or backgrounds and die-cut them into animal or butterfly shapes!  Think outside the box..

So first we need to congratulate our Random Winner from August's challenge - All things Bright and Beautiful.
Congratulations Amanda, we will be in touch shortly to arrange your prize.

Our Top 3 this month, as chosen by the DT, and who get a Guest Designer spot in our Challenge reminder post are:

1. Carolyn's Creations
2. Leanne C Harris
3. Pat Moore

Congratulations to you all, we will be in touch shortly.

Now for the inspiration from our very own DT, and our fab winner from August, Sheila, who has created this beautiful piece for us:


Sheila had this to say:
It was amazing to win the IndigoBlu blog challange and been able to add to my IndigoBlu stash.  I used the country house for my design card as it was one of my prize choices it's a stamp that's for all seasons.

Sheila doesn't have a blog, but does log in to the IB blog every day, and is a loyal IndigoBlu fan, so please leave her lots of love in your comments below, I know she will see them and appreciate them all.

And here are our brilliant DT's pieces, just love these!  And there is a very sneaky peek of a new stamp here - can you tell which one it is?

Julie


http://maxinejonesdesign.blogspot.com/2016/09/indigoblu-autumn-wildlife.html


We have prizes up for grabs each month,  Indigoblu stamps of your choice as follows:

3 options to choose from:
1: 2 Large stamp plates (A5)
or
2: 4 Small stamp plates (A6)
or
3: 1 Large and 2 small plates


There’s also the Winner’s Badge, and one for the Top 3, to display proudly on your blog, and the WINNER of the challenge will also be invited to do a GUEST SPOT on a future Challenge Launch post. That’s right, your work will be on the Challenge Blog alongside the Design Team!


Also the Top Three each month (chosen by our lovely DT) will all be invited to do an inspiration piece to be included on the reminder post that goes live mid challenge. So, if you’d like a chance to be featured on the IndigoBlu Challenge Blog get those stamps out and get creating!
You’ll find all the information on how to enter the challenge, the rules (don’t worry, there’s not that many) and get to meet theDesign Team in the tabs on the sidebar.

So all that's left for you to do is... well... get playing and enter!

Best Wishes,
The IndigoBlu Challenge DT Team
& Challenge Winner Sheila.

Tuesday 20 September 2016

More Inspiration from Ksenija, Cec and Giovanna

Today we are excited to share some fabulous inspiration from three of our International Design Team. Follow the links to their blogs to find out more about how their projects came together;


Monday 19 September 2016

More Inspiration from Autumn, Cheremane, Kay M and Solange

Today we are excited to share some fabulous inspiration from four of our International Design Team. Follow the links to their blogs to find out more about how their projects came together;